How to Prevent Condensation Inside Your Drone Camera Lens in Autumn
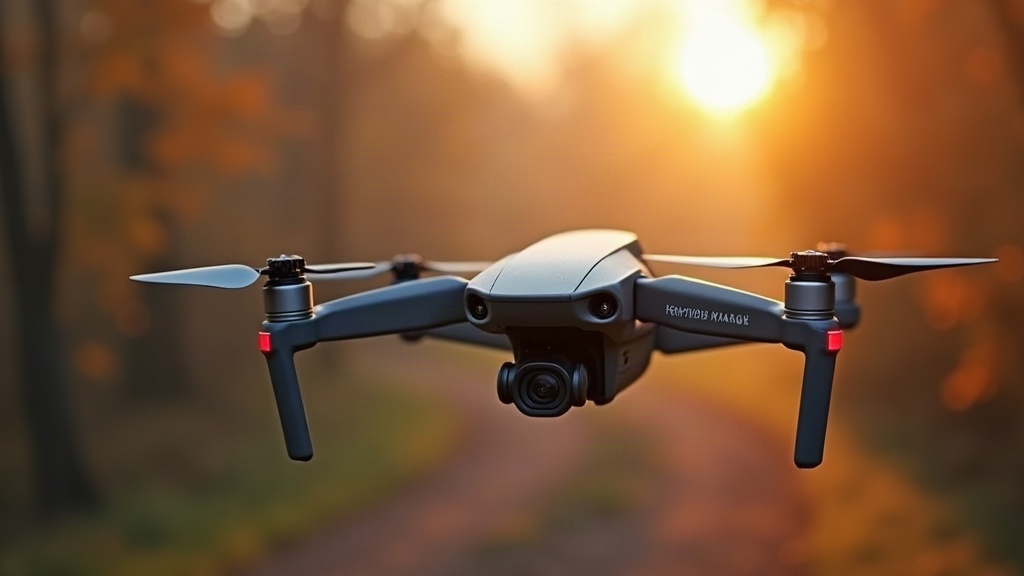
Crisp autumn mornings make for stunning aerial shots. Golden foliage, long shadows, crystal-clear skies, the whole package. But that same crispness is exactly what causes a frustrating problem: condensation fogging up your drone’s camera lens mid-flight. The fix is simple once you understand why it happens, and a few habits before and after every flight will keep your footage sharp all season.
Why Condensation Forms Inside Your Drone Lens
Condensation happens when warm, moisture-laden air meets a cold surface. Think of a cold glass of lemonade sweating on a summer porch, same principle, just happening inside your drone. In autumn, this plays out in two common scenarios:
- Storing a drone in a warm house or car, then flying it into cold outdoor air. The lens and internal optics are warmer than the ambient air, so moisture in that air condenses on the glass as the drone cools down.
- Flying from a cold environment into warmer, humid air, such as launching from a frosty field and climbing toward a sunlit, moisture-rich layer above.
Autumn is the worst season for this because daily temperature swings are extreme. A 40°F (4°C) morning can jump to 65°F (18°C) by noon, and humidity from morning dew lingers in the air long after sunrise.
Signs You’re About to Get Foggy Footage
- The lens looks clear on the ground but footage turns hazy once airborne
- A faint white or gray haze appears in the corners of the frame
- Footage clears up gradually as the flight continues (the drone warms up)
If you’ve seen any of these, condensation, not a dirty lens, is almost always the cause. I’ve lost count of how many pilots assume they need a new lens cloth when really they just needed ten more minutes of patience before launch.
How to Prevent It: Pre-Flight Steps
1. Acclimate the Drone Before Takeoff
The single most effective fix: let your drone sit in its case, outdoors or in an unheated garage, for 15 to 20 minutes before you power it on. This lets the internal temperature match the outside air gradually, preventing the rapid cooling that causes condensation. Set a timer if you have to. It’s tempting to rush, especially when the light is perfect, but that rush is usually what ruins the shot.
2. Use Silica Gel Packs in Your Case
Keep a few silica gel desiccant packs inside your drone case at all times. They absorb ambient moisture so the air trapped around your drone is already dry before you even open the case outside. A handful of packets costs almost nothing and lasts weeks.
3. Avoid Blasting the Car Heater Right Before Flying
If you drove to your flying spot with the heater running, don’t take the drone out immediately. The sudden temperature contrast between a warm cabin and cold outdoor air is a classic condensation trigger. Crack a window or turn the heat down for the last 10 minutes of your drive. Your fingers might complain, but your footage will thank you.
4. Warm Up the Drone Gradually, Not the Lens Directly
Never use a hairdryer or heater directly on the lens to “dry it out” fast. Uneven heating can damage the glass coating or internal electronics, and that’s a repair bill nobody wants. Gradual, ambient warming is always safer, even if it feels slower than you’d like.
5. Check the Lens Before Every Takeoff
Do a quick visual inspection and, if possible, a short hover test near the ground. Thirty seconds of hovering at waist height can tell you everything you need to know. Catching fog early saves you from wasting a battery cycle on unusable footage, which, if you’ve ever flown in 30°F weather, you know is no small thing.
What to Do If Condensation Happens Mid-Flight
- Land immediately and power down. Flying blind with a fogged camera risks obstacle collisions, and no shot is worth clipping a tree branch.
- Don’t wipe the inside of the lens. Most condensation forms on internal glass elements you can’t reach, and attempting a DIY disassembly can void your warranty.
- Let it sit at room temperature (not near a heat vent) for an hour before trying again. Grab a coffee, check your other gear, come back to it later.
Post-Flight Care for Autumn Conditions
- Store your drone in a case with silica gel between flights, especially if it’s damp or dewy outside.
- Avoid moving the drone directly from a cold car trunk into a warm house. Let it acclimate in a mid-temperature space like an entryway first.
- Replace silica packs every few weeks during humid autumn stretches. They lose effectiveness once saturated, and a saturated pack does basically nothing for you.
Final Thoughts
Condensation isn’t a sign your drone camera is broken. It’s simple physics reacting to autumn’s temperature swings, nothing more dramatic than that. By acclimating your drone before takeoff, keeping desiccant packs in your case, and avoiding abrupt temperature changes, you can capture sharp, fog-free aerial footage all season long. A few minutes of patience before launch is a small price for crystal-clear autumn shots, and honestly, once you build the habit, you won’t even think twice about it.